Monday, September 29, 2014

|| L o c a l. I s. T h e. N e w. B l a c k || Blog Fete 2014

 
I love Mondays! Especially when I am starting the week on a high note after an amazing time at the wonderful Blog Fete 2014 that was held at the East End Market here in Central Florida.   Being new to blogging, this was a first (and not the last) experience for me.  I had the opportunity to meet 30 other inspiring bloggers and heard from a panel of successful women that have created businesses and blogs that they own with passion and dedication.
 
The wonderful, Melissa Creates, was the creator and host of the Blog Fete!  It was her third year creating this wonderful event and atmosphere of entrepreneurs coming together collectively.
Melissa knew exactly how to inspire us by welcoming these speakers to the Blog Fete 2014:


Sarah Hearts: Sarah is a person that I have gotten to know recently from attending her Meet and Makes at West Elm Orlando.  She is a graphic designer that uses her amazing talents to create her empire of a blog. The attention to detail in party planning, hosting events, decorating her home, and the endless amounts of fabulous DIY projects will have you coming back to her blog each and every day!  The added bonus?  Seeing Sarah around town and attending her events that makes you feel like you have always known her.
 
Ashley Brooke DesignsAshley Brooke has created a blog and a shop that caught my eye the second I moved to Orlando, FL.  The sparkles, freshly painted manicured nails, the adorable and laughable quotes on mugs and shirts, and the all around lifestyle blog has had me swooning since day one.   To see Ashley present in person was one of my many highlights of the day.  If you don't follow her. . you should!
 
The Flair Exchange: I can't get enough of The Flair Exchange!  I had the opportunity to meet Carmen at the Blog Fete before she presented.  What a sweet soul she is!  Her business was built on the principal that she could not find sparkly, unique, fun, and modern decorations for the events she hosted.  . . so she started creating her own décor.  Now we have confetti filled balloons, confetti to match, tassel garlands, and balloons that make you want to "POP, FIZZ, CLINK" to adorn your celebrations and parties.
 
Waiting on Martha: The Blog Fete educated me on even more technology after learning and chatting with Mandy of Waiting on Martha through Google Chat.  A first for me!  What an inspirational, quirky, and wine loving entrepreneur!  Sounds like we would be best of friends if we ever met in person. Mandy's blog covers a diverse group of topics such as: entertaining, décor, food, fashion, beauty, and travel.  She also has an adorable shop: Waiting on Martha Shop.  And get this. . . she just quit her full time job to entertain the likes of us! 
 
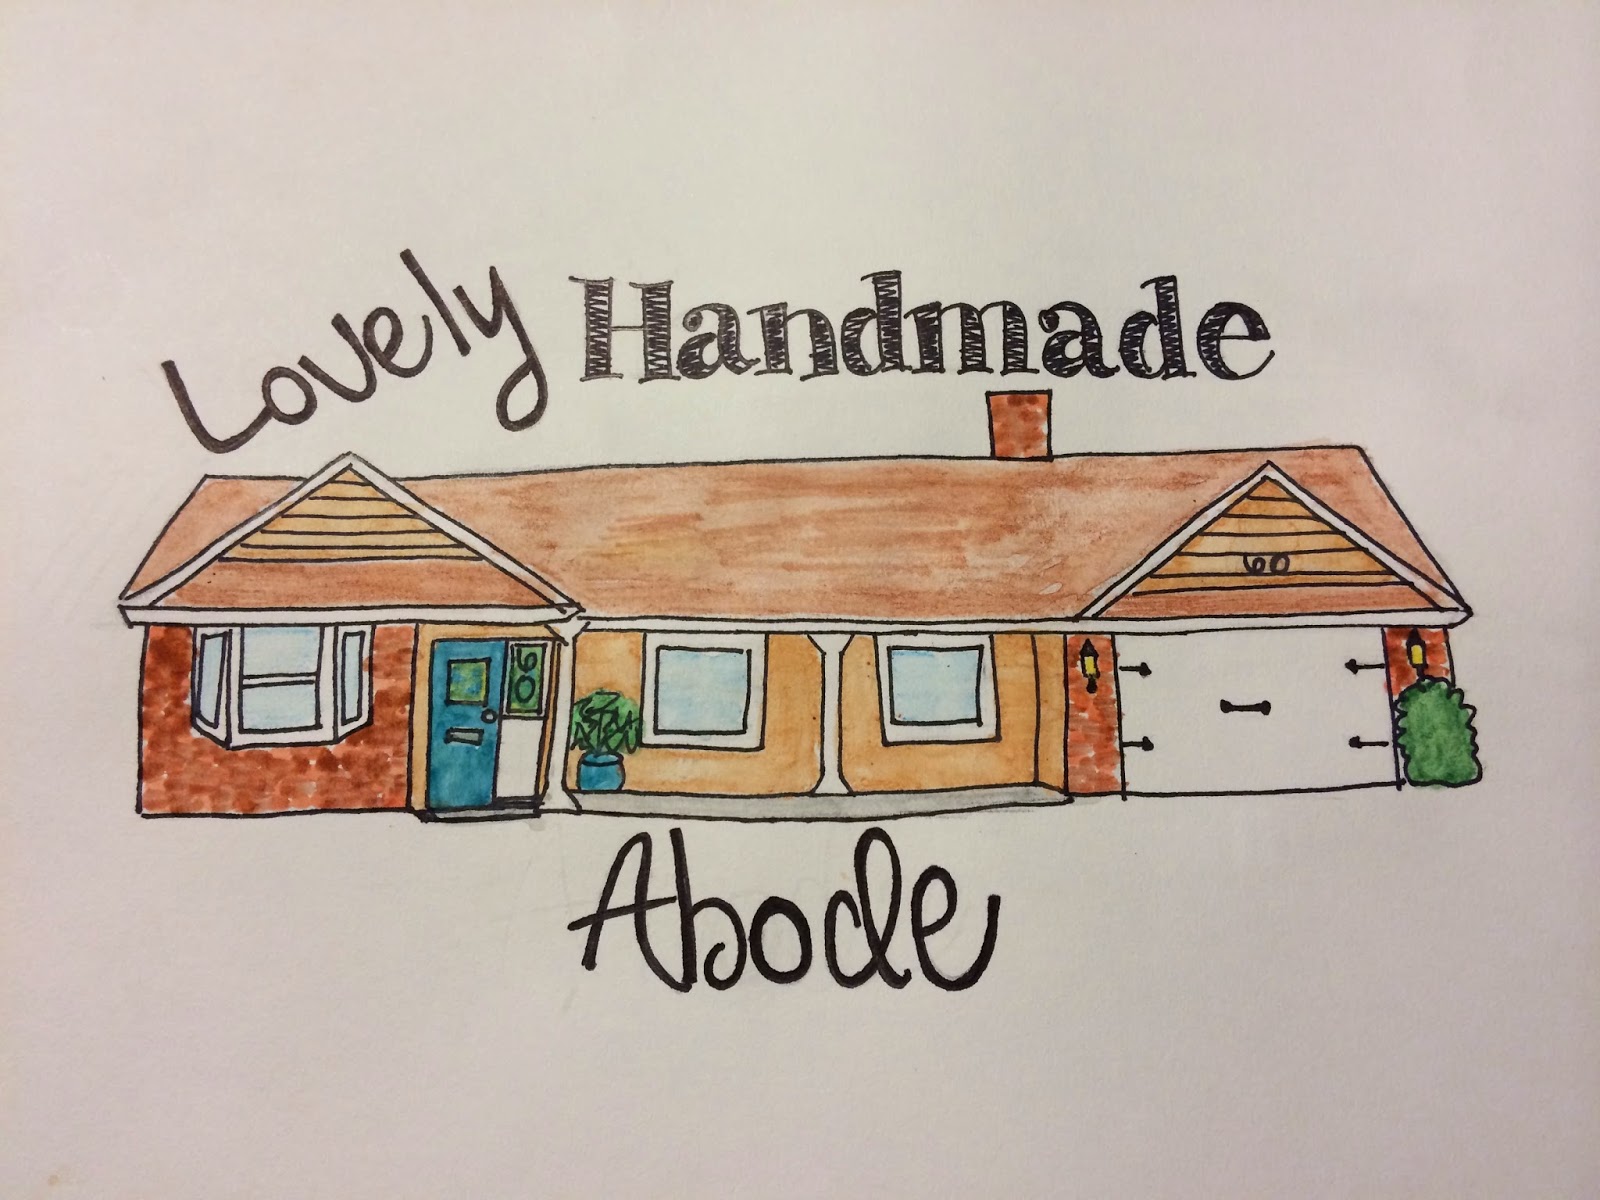
Kori Clark Designs: Kori is a wonderful artist that focuses her talents on hand and digital illustrations.  She has prints begging to be hung in your home! She offered amazing consultations with many of the bloggers on design during the Blog Fete.  I will be in touch with Kori soon to custom order an image of our newly bought home!


 What a day of inspiration, growing professionally and personally, and making new connections while meeting amazing people! Now, that is why my Monday is starting off wonderfully and because of a slight obsession.   I love Mondays because I make it a point to find and support local and small businesses every Monday.  The 2014 Blog Fete allowed me to discover amazing, sparkling, and down right fabulous businesses that you will also swoon over!  I left with the swag bag pictured below full of glamorous goodies!
 
 
In the coming weeks (on Mondays) I will be using these amazing products and posting more information!  In the mean time you can head on over to my IG account: @ElizabethRishel  to explore and become obsessed with these businesses like I have. They will have you liking in no time.


Friday, September 26, 2014

|| I n s p i r i n g . H u e s || Welcome Fall


I felt the need for a little clothing inspiration to celebrate the welcome of fall with the first day of fall that fell upon us this week.  This modern mixed with vintage look is too cute to ignore.  These colors may also be a new wonderful color scheme for a twist on fall décor within your home.
 
Color Palette by Elizabeth of Lima Green Designs 
Image via: Fab You Bliss
Color Patches: Valspar


Thursday, September 25, 2014

|| E t s y . S h o p || Treat Yo Self


The urge to cook something scrumptious has never been cuter or more fabulous!  Lima Green Designs wants to be a part of the heart of your home: your kitchen!  We have hand painted earth toned and peacock themed bamboo utensils ready to jump into your hands.
 
Be the talk of the kitchen when you use these bamboo utensils at your next gathering within your home.  If I were there, I sure would be asking you where you got those scrumptious utensils! These also make a great and unique housewarming gift, a gift to the bride-to-be at her shower, or a unique gift in general. 
 
Shop here  { Lima Green Designs }


Wednesday, September 24, 2014

Lovely Handmade Abode


The boredom of looking at white walls, the temptation to paint the walls, the lack of smell of your own freshly cut lawn, and ordering a custom address stamp that lasts less than a year due to moving again finally came to an end June 30th, 2014!

Since then I am finding joy in painting walls according to our taste, my husband loves cutting the grass (still in the grass cutting honeymoon period), and I have ordered a custom address stamp that will last years to come! We are finally homeowners in a city and state that we have fallen in love with.  It only took 3 states, 5 cities, and 7 apartments later in 5 years to finally settle us down. . . at least for now!

We bought our home right outside of gorgeous Orlando, Florida. Orlando is a city we have fallen head over heels for with the people, sights, and culture. 

This brings me to this blog post.  Being a lover of crafting and DIY projects (especially within our home now), I am going to have a weekly post on the many projects we are constructing and creating within our home.  I would love to share my passion with you and welcome you into our home!  These posts will fall under the category: Lovely Handmade Abode.  The watercolor picture with #lovelyhandmadeabode at the beginning of this blog post is a sneak peek of the outside of our home.


Beyond all of the hundreds of paint chips and samples brought home, rooms re-painted a week later due to the not so pleasant shades appearing in natural light vs lamp light, and countless amounts of paint stuck in my hair for days, we are finally getting down to the nitty gritty projects I can't wait to share!  Get ready LGD friends!


 xoxo!

Elizabeth

Tuesday, September 23, 2014

DIY: Painted Cement Coasters


Summer means sunshine, time with family and friends while socializing at cookouts, beach/pool time, and endless memories.  I wanted to do a DIY that can be incorporated into all of these things this summer.  That is when I saw painted cement coasters for that fabulous drink of yours that you are enjoying in the sunshine.  I thought it would be the perfect addition for your summer festivities! If you like a DIY project that you can work on a bit at a time (due to only having time here and there), this is the project for you!  Get ready to get your hands a little dirty.

Materials and Tools

* Baking sheet (You can use a shallow muffin pan also but I could never find one!)
* Wax paper
* Quick drying cement
* Bucket
* Stirring stick
* Acrylic paint
* Paintbrush
* Paper cups or mason jar lids
* Mod Podge

Instructions:

This is where you decide to use paper cups or mason jar lids.  If you have mason jar lids, they are easier because you simply place them on the baking sheet.  The cups you will have to cut first!  I will show both.

1. Take your paper cups (I used ice cream cups for a bigger circle) and cut off the rim of the cup leaving 3/4 of an inch in height.  You need enough cup left to pour the cement into!


2.  Prep your baking sheet by lining it with wax paper.
3.  Place your cups or your mason jar lids on top of the wax paper.


4.  Cover your cups or mason jar lids with another sheet of wax paper.
**You will notice later in the tutorial that I cut 4 sheets of wax paper for each circle.  I found that it was easier with four individual sheets but either way works. **
 
5.  Mix your cement in the bucket according to instructions.  Remember to put the water in the bucket first and then mix the cement in! 
**My instructions stated to put 5 parts cement to 1 part water.  I ended up adding more water until I got a smooth consistency that also made it easier to pour into the circles.  


6.  SLOWLY pour the cement into the circles.  Be careful as to not over pour or it will not take on the desired circular shape.
7.  Gently pull and shake the sides of the wax paper to remove air bubbles.  Allow cement to dry for 24 hours.
**This is when you go pamper yourself with gal time, a manicure, or sitting pool side while your coasters dry! **
8.  After your cement coasters have dried, time to peel!  The wax paper peels off with hardly any effort.  If a few pieces of wax paper get stuck in the creases of the cement, use tweezers to pluck it out!
 9.  Now for the fun and creative part: painting!  If you don't have the patience for painting (although you did wait 24 hours for this project to dry), you can always use spray paint and stencils.   I personally loved to used acrylic paint. 
 
As you're painting, think of a common theme and use complimentary colors among your set of coasters.  This will make for a great gift and/or a conversation starter by doing so.  I used a tribal theme using white, gold, burnt orange, and a mint teal for my coasters.
 
 
Additional option:  To make sure the paint on your fabulous coasters last, paint a coat or two of Mod Podge over the coasters to protect them.  Mod Podge does dries clear!
 
 
Now get busy making your own adorable coasters!  If you have more then one pan, make multiple sets at a time. 

I would love to see the coasters you create.  Post them to Instagram using the #lgdlove.  You can also post them on the LGD Facebook page!  Links below:

Instagram: @ElizabethRishel
Facebook: Lima Green Designs

Enjoy! 

Elizabeth

Monday, September 22, 2014

Fin First: Local is the New Black


There are individuals out there that inspire you daily whom you may have never met in person.  Maybe these friends are an Instagram or Facebook friend that you feel as if you have met in person.

That has happened to me with Allison Denton of Savvy Alli Photography and Fin First.  It all happened back in May of 2011 as I was preparing for my wedding when I stumbled upon her photography page.  Since then she has been a constant inspiration to simply love life, enjoy little moments, and appreciate the beauty around you.  I (and her other fortunate FB friends) have also been able to witness the beautiful journey of her son, Fin, through her daily Fin pictures that leave you smiling and as if you have met him also.  Fin, and the love his parent's show for him, is what brings me to this post today!
Meet the Denton family.
Not only is Allison an amazing and unique photographer, but her husband also happens to be a creative graphic designer that both share a love for Fin and the beach life.  You take all of these beautiful creative outlets and this couple created the sweetest birthday present to last a lifetime for Fin.  You see, Allison and her husband shared with the world their vision and allowed it to come true.  From what they showed online, they rose before the sun and stayed up way after it set to make their dreams for their little boy a reality. From visions, to sketches on paper, to watercolor galore, and to what you see today.
 
The best part??  This surprise and gift was revealed on his first birthday.  How amazing is that!? Allison and her husband created  a kid's t-shirt line like one I have never seen before.  Fin was their vision throughout each shirt and what they currently want for their son, for his future, and to always keep that curious side to him as he grows to explore whatever his heart desires.   

With the passion of photography, graphic design, and a unbreakable love for their son, an undeniable, gotta have it t-shirt line was produced.  And here is their inspiration, Fin, the CEO of Fin First:
 
 
Now, on to the t-shirt line that will have you buying one (or many) for your son, daughter, nephew, niece, your friend's child, or maybe to keep until the right moment to give away.  Here are just a few designs:
 
"East Coast Native" The shirt I bought for my little brother to rock out in.

"The Wander Years" "Old Soul"
"Kid You'll Move Mountains" . . .a constant inspiration to live life.
I will admit that I stomped my feet and pouted a little when I realized I couldn't buy any of these shirts for myself.  But then Fin First made it all better!  You can purchase each of these designs on an 8 x 10 print!  So yes, I ordered a few.

 
Once I received my prints, the packaging alone got me excited!  From their own Fin First stamp on the back of the envelope to the "Greetings from Myrtle Beach" postcard on the inside.  Felt like a piece of home was mailed to me.


So, what are you waiting for??  Go check out Fin First for yourself! 

Website: Fin First MBFin First FacebookFin First Instagram
Savvy Alli Photography Facebook


Warning: This little cutie will have you buying and sharing!


Sunday, September 21, 2014

Welcome to Lima Green Designs!


Hello! You made it! Welcome to Lima Green Designs where I, Elizabeth, plan to inspire and instill creativity within your daily routines while sharing my own creations.


 Lima Green Designs is a passionate and creative blog, along with an Etsy store, in which I love to create unique handmade items that are great for giving, receiving, and inspiring others.   I am so anxious to get this blog and website up and running that will provide tutorials, inspiration to find your own creativity within, and an in depth look at my Etsy items.

I look forward to sharing this creative journey with all of you!  I will greatly appreciate any comments, emails, messages, etc. that you want to send my way. . . . especially with DIY tutorials you would like to see!

Get in touch!

 
Shop: www.LimaGreenDesigns.Etsy.com
 
IG: http://instagram.com/elizabethrishel

FB: www.facebook.com/limagreendesigns

Blog: http://LimaGreenDesigns.blogspot.com/

Email: Limagreendesigns@gmail.com

xoxo,

Elizabeth