Showing posts with label crafting. Show all posts

Tuesday, November 18, 2014

|| L o c a l . I s . T h e . N e w . B l a c k || October Meet + Make

 
October Meet + Make with Sarah Hearts


A wonderful experience of crafting with fabulous ladies, chatting with an amazing host, and leaving with a drool worthy door mat has left me excited for what is to come next for Sarah Hearts and her wonderful Meet + Make events at West Elm Orlando.


Sarah hosted one of her best Meet + Make events to date.   With over 50 attendees equally excited, there was chatter in all corners, paint was being applied in beautiful patterns on door mats, spiked cider and lovely desserts were being passed around, and the beautiful products of West Elm that surrounded us made it a fabulous evening.   


I love attending Sarah's events not just for the crafting aspect, but meeting amazing people in the Orlando area.  If you are new to Orlando this is a wonderful way to meet others, make connections, and have fun while crafting.  All you simply have to do is purchase your ticket, show up, all the supplies are there for you ready to go, and all you have to do is be a little creative and have a blast! 


As Meet + Make is coming to an end, you are then handed an amazing swag bag that you see pictured at the beginning of this blog post.  Inside this swag bag you have sponsors (some that are even local) that have sprinkled and donated some of their handmade products.  Talk about being exposed to supporting locals, small businesses, and items made in the US!  Sarah gave me the wonderful opportunity to be a sponsor myself at this Meet + Make.  Here is a detailed view into my swag bag:


1. Pen and Paper Flowers: PNP Flowers provided an adorable polka dotted key chain that stated "Her dreams give her goosebumps".  A constant reminder to dream big!  I had the opportunity to meet Jessica (the gal behind PNP Flowers) at a previous Meet + Make and she was a wonderful individual to get to know and craft with!

2. Modernly Mae:  These flowers made out of felt and placed on wire stems are adorable! I currently have them on my fireplace mantle for fall.  I plan to order more to add to my vase because they are simply too fun not to have more!

3. Bright Light Paper: I can't get over these adorable fall cards!  Not only are they perfect to spread fall cheer, but they are hand drawn and painted by watercolor.  Time to send someone some snail mail!  Added bonus? Elizabeth (another one) was in attendance.  I got to meet this local with a wonderful business that also sponsored the Meet + Make.  How can you go wrong with two Elizabeth's at one event?

4. Thatch and Thistle: I. Can't. Get. Over. This. Company!!  Thatch and Thistle provided these geo triangle kraft stickers.  Their online shop offers supplies for beautiful packaging, wrapping, gift giving, and for your unique party supply needs.  I have a slight addiction to their products.

5. The Bannerie:  Oh my, oh my, oh my! How I LOVE this gold, glittery 'Fall Y'all' banner!  It is the perfect addition for my fall décor.  I already have an ongoing list of additional gold and glittery banners I need in my life for upcoming events.  Check this shop out!

6.  Sarah Hearts: Sarah provided these adorable stickers in the swag bag, but more importantly allowed this amazing event to happen!  Her blog is full of inspiration for many facets of your life, many DIY projects, and even designs a monthly wallpaper for your computer and phone!

7. Lima Green Designs: I was thrilled to sponsor another Meet + Make event.  These are my fall themed mini clothespins that are perfect for attaching tags to gifts, hanging pictures on twine, or even keeping your napkins closed at your holiday feast. 

Sarah, thank you for another great event at West Elm.  I am looking forward to another great event in December!
 
 
Now is your opportunity to join in on the fun!  There is probably already a waiting list, but get on it!  Sarah opened the sale of her tickets for her next
Meet + Make in December today.   Jump on this opportunity!


Saturday, November 15, 2014

|| L o c a l . I s . T h e . N e w . B l a c k || Thanksgiving Invitations

 
Thanksgiving Invitations
 
 This Thanksgiving will be our first holiday in our new home.  I am slightly excited to say the least!  What better way to share our first holiday than bringing both sides of our families together.  To kick off the Thanksgiving preparation, I turned to a few vendors with amazing handmade and original products to create a unique invitation to send out to our families.


I enjoyed putting this invitation together so much that I wanted to share my findings with you.  It isn't too late to get yours out!  These invitations aren't just for Thanksgiving with family, but you can also create them for a unique Friendsgiving with friends that you call your family.


I found our invitations searching through Etsy.  Aren't familiar?  One click and you will be in handmade, custom, and unique gifting heaven. 
 
After much debate, I picked this invitation by Sweet Bee Design.  Tori was amazing to work with and offers so much more than holiday cards/invitations.  After purchasing the digital file, emailing her my custom information, I had my proof back in less than 24 hours.  Within a day of purchasing my file, I was already at Staples printing my custom invitations.
 
You can also find Sweet Bee Design on Facebook.
 
 
After printing the custom invitations, it was then time for my favorite part: decorating, I mean addressing,  the envelopes.  Being new homeowners I was thrilled to purchase an address stamp that will take us through the next couple of years of sending handwritten mail.  Yes, there is still such a thing in my household.
 
This beautiful, handcrafted stamp came all the way from Hawaii.  I also found this address stamp through Etsy by an amazing shop called foryoo.  This shop will also send you a proof of the stamp, and once confirmed, your custom stamp is created and shipped to you.  Coming from Hawaii it can take up to two weeks to receive. 
 
Foryoo is also on Facebook.


Addressing the envelopes to our loved ones was a thrill to write!  I wanted something eye catching, unique, and creative so that it made our family members smile when they received the invitation in the mail.  Need more ideas past this one?  Pinterest has boards dedicated to addressing envelopes in unique ways or simply tap into your creative side.


My final touch was a postage stamp with some fall flair.  I loved these stamps that I got at my local post office.  You can also get them online.  If you want even more options for fall stamps, you can check out the unique postage stamps available on Zazzle.
 
By creating custom invitations, it creates a unique twist on throwing a party, a get together, a celebration, and special announcements.  This is something you can also do with the upcoming Christmas and New Year season! 

Thursday, October 30, 2014

|| D o . I t. Y o u r s e l f || Halloween Costume


I recently had the best time this past week with my family coming to Orlando to enjoy Disney for a few days.  What I wasn't prepared for was Mickey's Not So Scary Halloween Party at Magic Kingdom.  This involved trick-or-treating among your favorite Disney characters and my little brother (21 years between us) begging me to dress up with him.
 
That is when I threw together a quick, last minute Halloween costume that can also be inexpensive if you already have some of these basic items! I went with a black cat simply because I already had a lot of black clothing!
 
Here is what you will need:
 
 
1. Grab a pair of black gym shorts if you aren't comfortable wearing only leggings.
2. I found cat ears at Target for about $5.  Although these are not the ones I wore (they aren't available online), these are adorable also.
3. and 7. You will need two spools of black tulle and black ribbon (if you want it to blend) to make your tulle skirt.  Here is an awesome tutorial that I used to make my skirt by The Hair Bow Company Blog : DIY Tulle Skirt .  **Tip: I cut my tulle in 24 inch strips to make the shorter tutu.
4.  Black Leggings: You may already have some but if not I bought mine at Target .  (Can you tell I love Target!?)
5.  I did not paint a cutesy black nose and whiskers on my face this night due to water rides, but I did find this make-up paint in the dollar section at target for future use. 
6.  Lastly, grab a black shirt, tank top, or long sleeved shirt to complete the look.  I found my tank top in my closet.  I also loved the look of this V-neck tee.  Keep it simple!


 I hope this helps for a last minute costume!
Happy Haunting!


Monday, October 20, 2014

|| L o c a l. I s. T h e. N e w. B l a c k || West Elm


I discovered West Elm a few years ago and quickly swooned over their eclectic mix of home décor and furniture that made them unique for households everywhere.  It has become a staple for my home and my number one go to place for my household needs. 

Being an artisan and an individual that loves to support locals, I was thrilled when I found out that West Elm supports artisans and even hosts events for local artisans to mix and mingle. 

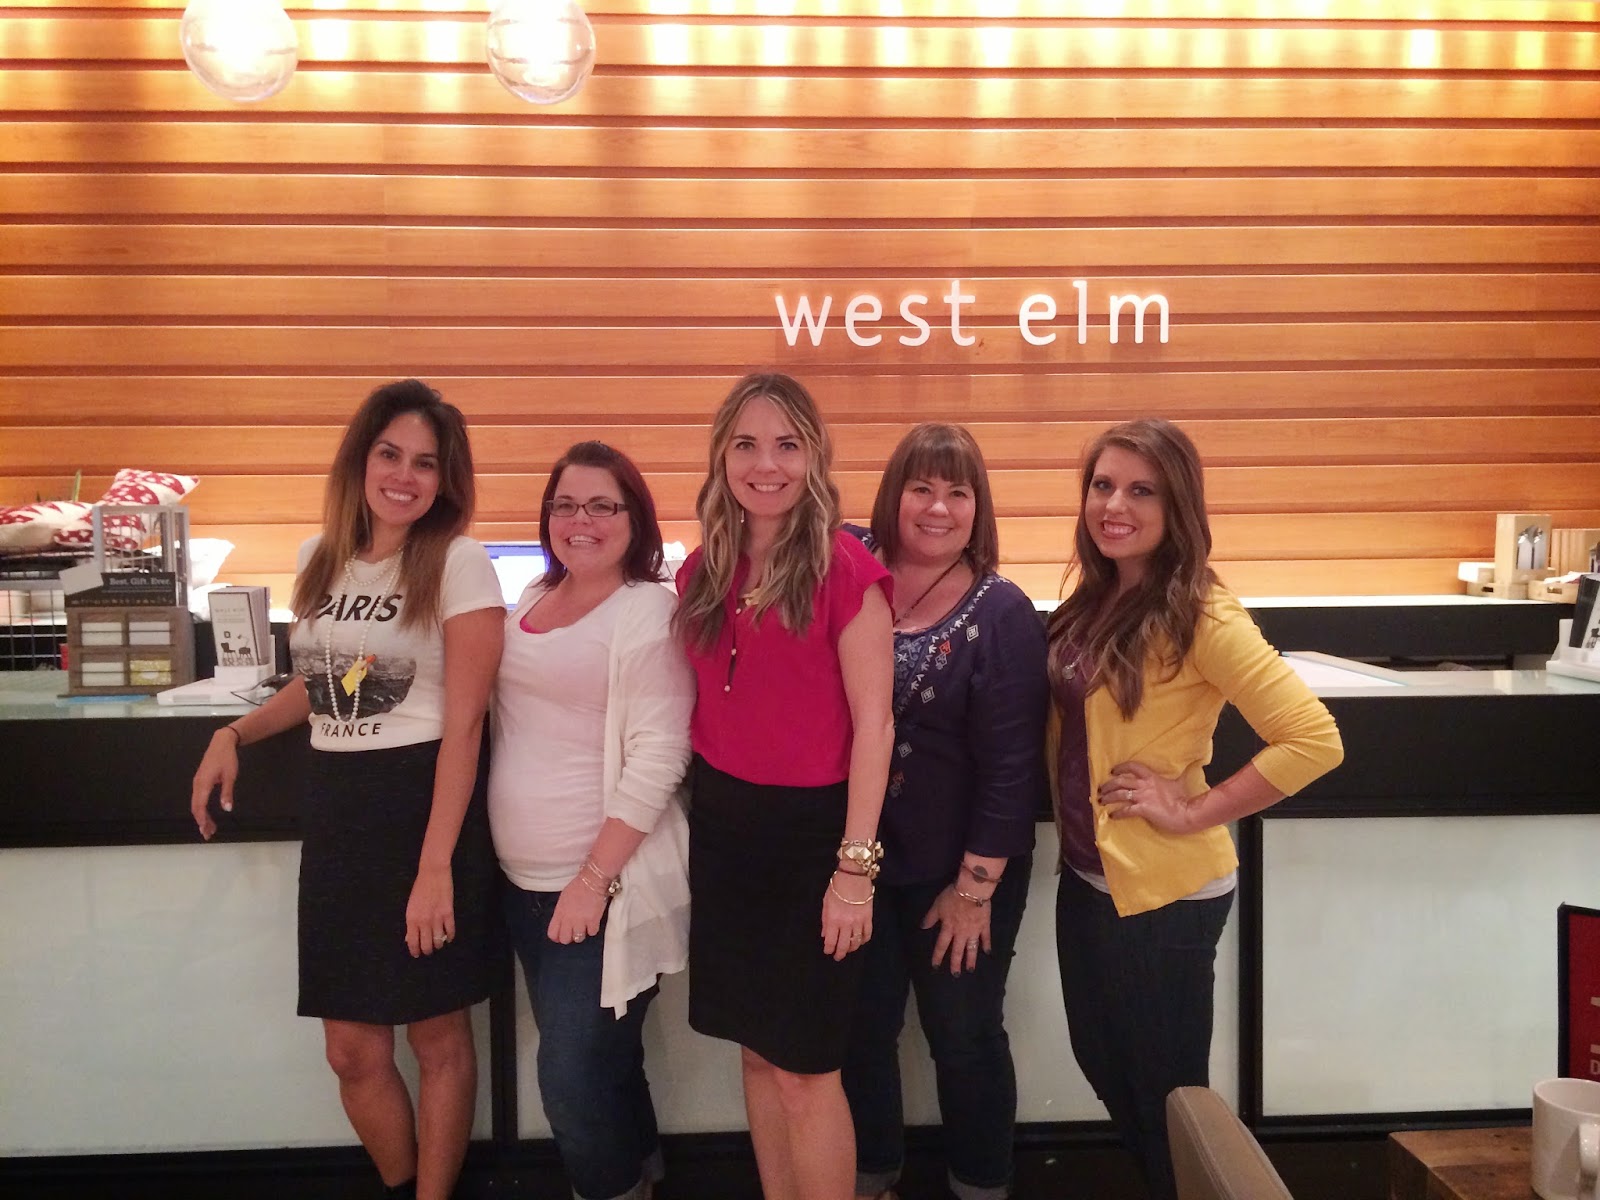
I discovered this upon moving to Orlando, FL and wanting to get out and meet people.  A fabulous blogger, Sarah Hearts, posted on social media about hosting a Meet & Make at the local West Elm here in Orlando.  I dove in head first and a month later met 55 other fabulous women and creatives that crafted the night away. 


Image Via: Sarah Hearts Blog

You can check out my first event here that Sarah hosted: December 2013 Meet + Make


You might say that combining Sarah Hearts, West Elm, artisans gathering socially, and creating a treasure to take home, made me come back again and again.  And that is exactly what I did.  Just take a look thanks to Sarah Hearts!
 
 
Image Via: Sarah Hearts Blog
You can find me in the pink shirt!
 
 
June 2014 Meet + Make: Summer Edition  -- This event was extra special!  Lima Green Designs was one of the sponsors in the swag bag by providing a sunglasses case for each attendee. What a wonderful experience!


This Thursday will be another fabulous Meet + Make hosted by Sarah Hearts.  Lima Green Designs will be sponsoring again while mixing and mingling with fellow crafters. 

West Elm is a wonderful company that offers many opportunities to local businesses!  Lima Green Designs will be a part of a Holiday Shop this coming December (more on that soon) and West Elm Orlando LOVES local makers if you couldn't already tell.

They will soon be announcing the winner of a $25,000 grant offered to a small local business.  West Elm wants to see local businesses grow from the ground up! 


If you have not attended an event at your nearby West Elm, it is time to check their calendar and start supporting, start getting involved!  They are all unique and wonderful experiences that West Elm offers to locals.  Time to start creating, meeting, and making!


Wednesday, September 24, 2014

Lovely Handmade Abode


The boredom of looking at white walls, the temptation to paint the walls, the lack of smell of your own freshly cut lawn, and ordering a custom address stamp that lasts less than a year due to moving again finally came to an end June 30th, 2014!

Since then I am finding joy in painting walls according to our taste, my husband loves cutting the grass (still in the grass cutting honeymoon period), and I have ordered a custom address stamp that will last years to come! We are finally homeowners in a city and state that we have fallen in love with.  It only took 3 states, 5 cities, and 7 apartments later in 5 years to finally settle us down. . . at least for now!

We bought our home right outside of gorgeous Orlando, Florida. Orlando is a city we have fallen head over heels for with the people, sights, and culture. 

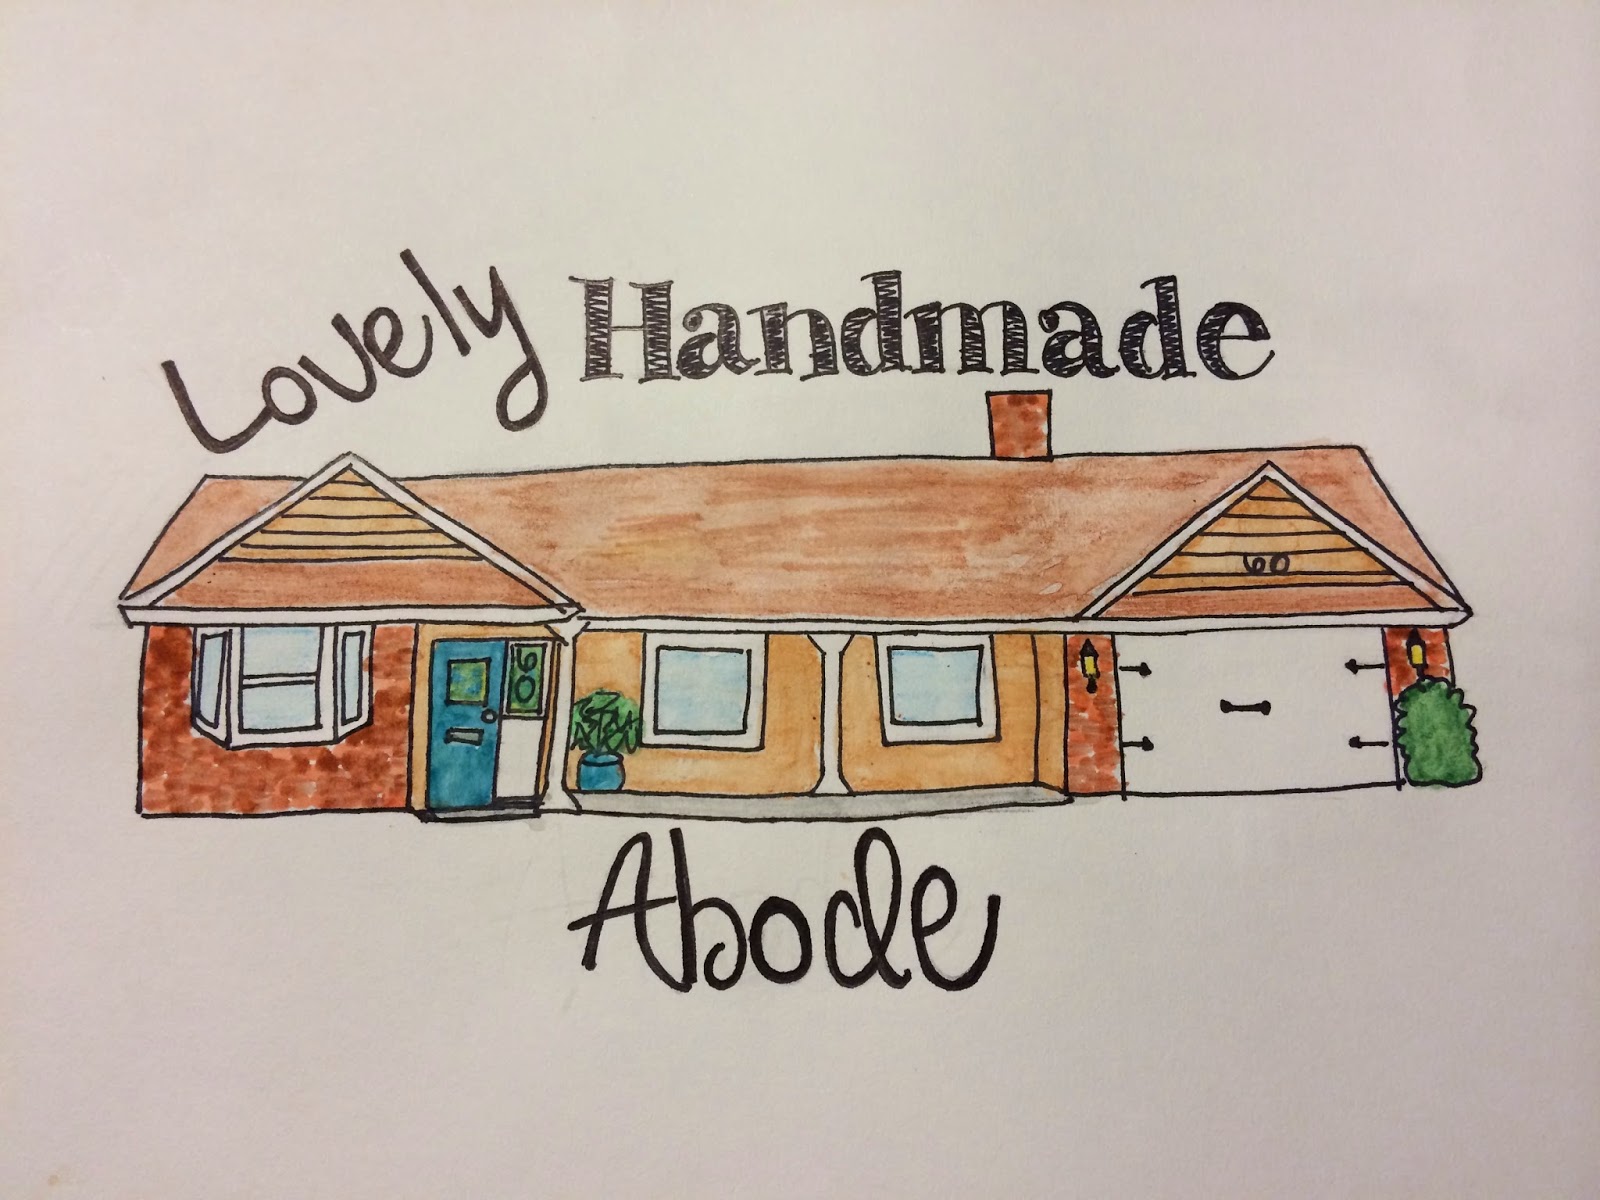
This brings me to this blog post.  Being a lover of crafting and DIY projects (especially within our home now), I am going to have a weekly post on the many projects we are constructing and creating within our home.  I would love to share my passion with you and welcome you into our home!  These posts will fall under the category: Lovely Handmade Abode.  The watercolor picture with #lovelyhandmadeabode at the beginning of this blog post is a sneak peek of the outside of our home.


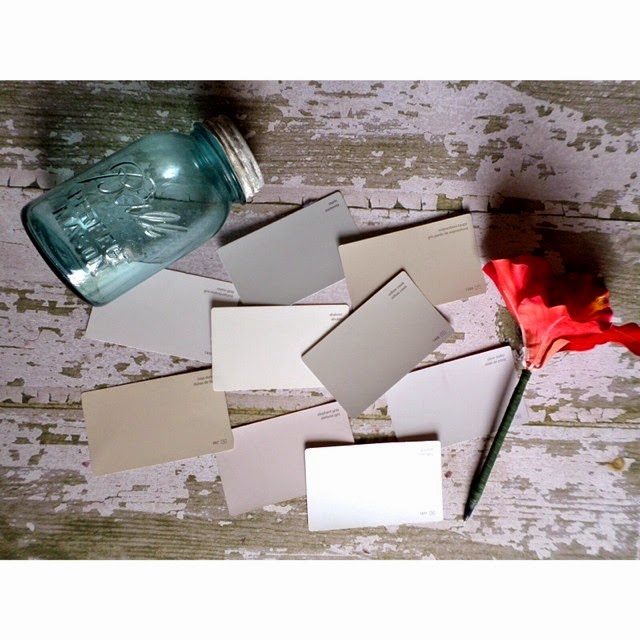
Beyond all of the hundreds of paint chips and samples brought home, rooms re-painted a week later due to the not so pleasant shades appearing in natural light vs lamp light, and countless amounts of paint stuck in my hair for days, we are finally getting down to the nitty gritty projects I can't wait to share!  Get ready LGD friends!


 xoxo!

Elizabeth

Tuesday, September 23, 2014

DIY: Painted Cement Coasters


Summer means sunshine, time with family and friends while socializing at cookouts, beach/pool time, and endless memories.  I wanted to do a DIY that can be incorporated into all of these things this summer.  That is when I saw painted cement coasters for that fabulous drink of yours that you are enjoying in the sunshine.  I thought it would be the perfect addition for your summer festivities! If you like a DIY project that you can work on a bit at a time (due to only having time here and there), this is the project for you!  Get ready to get your hands a little dirty.

Materials and Tools

* Baking sheet (You can use a shallow muffin pan also but I could never find one!)
* Wax paper
* Quick drying cement
* Bucket
* Stirring stick
* Acrylic paint
* Paintbrush
* Paper cups or mason jar lids
* Mod Podge

Instructions:

This is where you decide to use paper cups or mason jar lids.  If you have mason jar lids, they are easier because you simply place them on the baking sheet.  The cups you will have to cut first!  I will show both.

1. Take your paper cups (I used ice cream cups for a bigger circle) and cut off the rim of the cup leaving 3/4 of an inch in height.  You need enough cup left to pour the cement into!


2.  Prep your baking sheet by lining it with wax paper.
3.  Place your cups or your mason jar lids on top of the wax paper.


4.  Cover your cups or mason jar lids with another sheet of wax paper.
**You will notice later in the tutorial that I cut 4 sheets of wax paper for each circle.  I found that it was easier with four individual sheets but either way works. **
 
5.  Mix your cement in the bucket according to instructions.  Remember to put the water in the bucket first and then mix the cement in! 
**My instructions stated to put 5 parts cement to 1 part water.  I ended up adding more water until I got a smooth consistency that also made it easier to pour into the circles.  


6.  SLOWLY pour the cement into the circles.  Be careful as to not over pour or it will not take on the desired circular shape.
7.  Gently pull and shake the sides of the wax paper to remove air bubbles.  Allow cement to dry for 24 hours.
**This is when you go pamper yourself with gal time, a manicure, or sitting pool side while your coasters dry! **
8.  After your cement coasters have dried, time to peel!  The wax paper peels off with hardly any effort.  If a few pieces of wax paper get stuck in the creases of the cement, use tweezers to pluck it out!
 9.  Now for the fun and creative part: painting!  If you don't have the patience for painting (although you did wait 24 hours for this project to dry), you can always use spray paint and stencils.   I personally loved to used acrylic paint. 
 
As you're painting, think of a common theme and use complimentary colors among your set of coasters.  This will make for a great gift and/or a conversation starter by doing so.  I used a tribal theme using white, gold, burnt orange, and a mint teal for my coasters.
 
 
Additional option:  To make sure the paint on your fabulous coasters last, paint a coat or two of Mod Podge over the coasters to protect them.  Mod Podge does dries clear!
 
 
Now get busy making your own adorable coasters!  If you have more then one pan, make multiple sets at a time. 

I would love to see the coasters you create.  Post them to Instagram using the #lgdlove.  You can also post them on the LGD Facebook page!  Links below:

Instagram: @ElizabethRishel
Facebook: Lima Green Designs

Enjoy! 

Elizabeth